You shot a great video, but it’s too long, formatted for the wrong platform, and you have no idea how to fix any of that without downloading software or watching a three-hour tutorial. The good news is that free online video editing tools have come a long way, and you no longer need to be a video professional to get polished results. Whether you are repurposing content for TikTok, Instagram Reels, YouTube Shorts, or a business website, you can trim your footage and change the aspect ratio in just a few clicks. This guide walks you through everything you need to know to do it quickly and confidently.
Why Aspect Ratio Matters More Than You Think
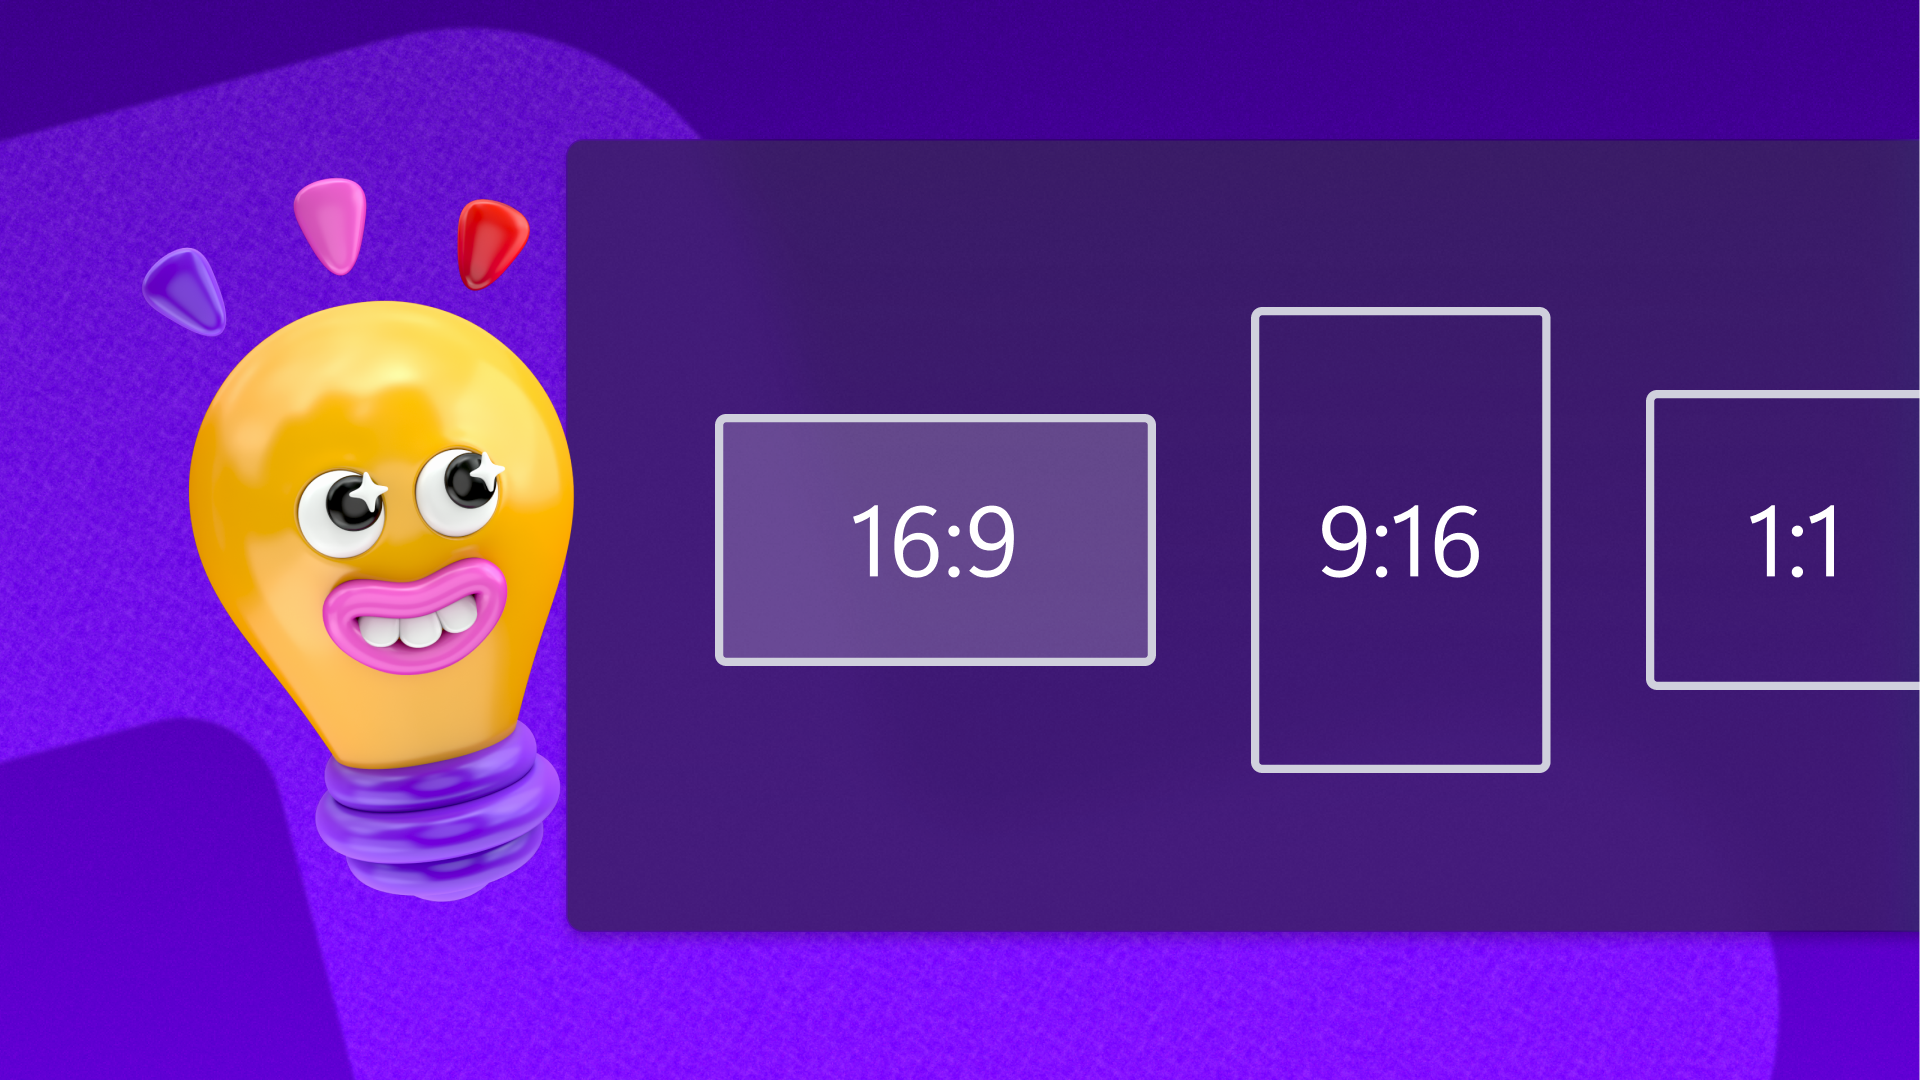
Most people focus on trimming as the main editing task, but aspect ratio is just as important and gets overlooked far too often. Aspect ratio is simply the relationship between the width and height of your video. A 16:9 ratio looks great on YouTube and works well for standard landscape viewing. A 1:1 square format is ideal for Instagram feed posts. A 9:16 portrait ratio is the native format for TikTok, Instagram Reels, Facebook Stories, and YouTube Shorts.
If you post a landscape video directly to TikTok without reformatting it, the platform will letterbox it with black bars on the top and bottom, or it will auto-crop it in ways you did not intend. The result looks unprofessional and often cuts off important parts of the frame. Taking a few seconds to change the aspect ratio before you upload makes a significant difference in how your content is received.
The good news is that free online tools now handle both trimming and aspect ratio adjustments in the same workflow, so you do not need to do them as separate steps.
What to Look for in a Free Online Video Trimmer
Before picking a tool, it helps to know what features actually matter for this kind of task. Not every free online trimmer is built the same way, and some will waste your time with confusing interfaces or surprise you with watermarks on the final download.
Here is what to prioritize:
- No software installation required. The tool should work entirely in your browser, on desktop or mobile.
- Precise start and end point controls. Look for tools that let you drag handles on a timeline or enter exact timestamps in minutes, seconds, and milliseconds.
- Built-in aspect ratio presets. You want options for at least 16:9, 1:1, and 9:16 without having to calculate dimensions manually.
- Quality preservation. The trimming and resizing process should not degrade your video quality.
- No watermark on free downloads. Some tools advertise as free but add a watermark unless you pay.
- Fast processing. Online tools can vary widely in how long they take to render and export.
Tips for Trimming Videos and Changing Aspect Ratios Online
1. Start With a Clear Vision of Your End Platform
Before you upload anything, decide where this video is going. Different platforms have different requirements. TikTok and Reels are vertical. YouTube is horizontal. Instagram feed posts look best square. Having a destination in mind before you start saves you from trimming a video and then realizing you need to reformat it all over again.
Make a habit of asking yourself: where will this live, and what is the ideal aspect ratio for that location? Even jotting it down before you start editing will save time.
2. Trim First, Then Resize
The order of your edits matters. Trim the video to the length you want before changing the aspect ratio. If you resize first and then try to trim, you may end up framing shots differently and regretting it. Trimming narrows down your content to the exact moments that matter, and then the aspect ratio adjustment just reframes what is already your best footage.
Most online tools will walk you through this naturally in their workflow, but it is worth being intentional about the order even when using drag-and-drop interfaces.
3. Use the “Fill” Option Carefully When Changing Ratios
When you switch from landscape to portrait or vice versa, you will usually be given two choices: fill the frame or add black bars. Filling the frame crops into the video to fit the new ratio. Black bars preserve the full original frame but leave empty space above and below or on the sides.
Fill mode looks cleaner for social media, but make sure the most important parts of your shot are centered before you commit. If a speaker or subject is off to one side, the crop could cut them out entirely. Many tools let you pan or reposition the frame before saving, so take a moment to review the crop preview.
4. Enter Exact Timestamps for Precision Cuts
Dragging handles on a timeline by feel can be imprecise, especially on mobile. If the tool you are using has fields for entering a start time and end time numerically, use them. This is especially useful if you are trying to cut to a specific moment in the audio or hit a beat in the background music.
Even one or two seconds of extra footage at the beginning of a video can affect how people engage with it on social media, where attention drops quickly. Precise trimming is one of the simplest ways to make your content feel more professional.
5. Try a Practical How-To With Adobe Express
One of the most accessible tools for this task is the free video trimmer from Adobe Express. Here is how the workflow goes in practice.
Go to the Adobe Express video trimmer in your browser. No account is required to get started. Upload your video file by dragging and dropping it onto the page or browsing for it from your device. Once the video is loaded, use the slider handles below the preview or the start and end time input fields to select exactly the portion of the video you want to keep.
After trimming, you will see aspect ratio options. Select the format that matches your destination platform. Landscape (16:9) for YouTube, portrait (9:16) for TikTok or Reels, or square (1:1) for Instagram feed posts. If you choose fill, drag the video in the preview window to reposition your subject within the new frame. There is also an option to mute the audio if needed. When you are satisfied, download the finished clip. The original file on your device is not touched, and the download is a separate new video file.
6. Watch for Quality Degradation on Export
High quality output depends on the tool, but also on your source file. If you start with a compressed or low-resolution video, no amount of editing will improve it. Always start with the highest quality version of your footage available. When downloading, look for any quality or resolution settings the tool offers and choose the highest option.
Adobe Express, for example, preserves quality during trimming and aspect ratio changes and does not introduce compression artifacts in the process, which is important if your video will be displayed on larger screens or in high-definition environments.
7. Use Mute When the Audio No Longer Fits
When you change the aspect ratio or cut a clip, the audio may not always make sense anymore. A voiceover that references something now cut from the video, background noise from an environment that no longer matches, or a music cue that now starts in an awkward place are all reasons to consider muting your clip entirely.
Many creators add music separately in their social media apps anyway. Stripping the audio at the trimming stage and starting fresh with a new track is often cleaner and easier than trying to work around problematic original audio.
8. Double-Check Platform-Specific Duration Limits
Different social platforms have maximum and minimum video length requirements. Instagram Reels currently allow up to 90 seconds. TikTok videos can go up to 10 minutes for certain accounts, but shorter clips tend to perform better. YouTube Shorts must be under 60 seconds. Facebook and LinkedIn have their own limits as well.
When you use a trimming tool, keep these time windows in mind as you set your end point. Trimming to just under the platform limit makes your content eligible for all format options on that platform, including full-screen display for Reels or Shorts.
9. Take Advantage of Preset Sizes
Rather than manually figuring out pixel dimensions, look for tools that offer preset aspect ratios labeled by platform or use case. Presets eliminate guesswork. You do not need to know that Instagram Stories use 1080 by 1920 pixels. You just need to find the button that says “Portrait” or “Story” and click it.
These presets are built into most quality free online trimmers. They are specifically designed to help non-designers get platform-ready results without having to look up spec sheets.
10. Preview Before You Download
This sounds obvious, but many people skip the preview step and then realize after downloading that the crop cut off a face or the trim ended half a second too early. Always watch the trimmed preview once, all the way through, before clicking download. It takes less time than re-uploading and starting over.
Most browser-based tools will show you a real-time preview of your edit. Use it. Pay attention to both the framing and the start and end points.
FAQ
Does trimming a video online reduce its quality?
It depends on the tool you use. Some browser-based editors re-encode your video during the export process, which can introduce compression and reduce overall quality, especially if you export at a lower setting. Others are designed to preserve the original resolution and quality throughout. When using a reputable tool like Adobe Express, quality is maintained during both the trimming and aspect ratio adjustment steps. To protect quality on your end, always start with a high-resolution source file and choose the highest available download setting. Avoid running a video through multiple online tools in sequence, as each export cycle has the potential to introduce degradation.
Can I change the aspect ratio without cropping out important parts of the video?
Yes, and this comes down to how you handle the reframing step. Most tools give you the option to either crop to fill the frame or leave the original footage with black bars on the sides or top and bottom. If you choose the fill option, you will usually be able to drag or pan within the new frame to reposition your subject before saving. This means you can keep the most important visual elements in frame even when switching from a wide landscape to a tall portrait format. Taking a moment to preview and adjust the positioning before downloading makes a significant difference in the final result.
What is the best aspect ratio for cross-platform posting?
There is no single best aspect ratio that works perfectly on every platform, but square (1:1) is often considered the most versatile format. It occupies more vertical space in social media feeds than landscape video without requiring a full vertical format. If you are posting the same clip to Instagram, Facebook, and LinkedIn, a square format adapts well across all three. That said, if your primary destination is TikTok, YouTube Shorts, or Instagram Reels, portrait (9:16) is the native format and will give you the best viewing experience. For long-form YouTube content or embedded website videos, landscape (16:9) is still the standard. If you are managing content for multiple platforms, consider whether your tool allows you to download separate versions of the same trimmed clip in different aspect ratios, since some tools make this fast and easy.
Are free online video trimmers safe to use? What happens to my uploaded files?
Using a free online tool from a reputable provider is generally safe. Established tools like those from Adobe have clear privacy policies that outline how uploaded content is handled and confirm that your original file on your device is not altered. Before using any online video tool, it is a good idea to check the privacy policy briefly to confirm that your content is not being stored indefinitely or shared with third parties without your consent. Avoid uploading sensitive or confidential video content to free tools with unknown or unclear data policies. If you are regularly editing business or client videos, you may also want to explore what data retention policies apply to the specific tool you are using. For social content creators managing video files across platforms, a cloud storage solution like Google Drive can help you keep original files backed up and organized separately from your edited exports.
Do I need to create an account to use these tools for free?
Many free online video trimmers allow you to complete basic editing tasks without creating an account. Adobe Express, for example, lets you access its video trimming and aspect ratio tools without logging in first. However, creating a free account may give you access to additional features, the ability to save projects for later, and easier access to download history. If you plan to use the tool regularly or want to store templates or edited projects, setting up a free account is worth the two minutes it takes. For one-time or occasional edits, most tools work perfectly well without any login requirement, and you can get from upload to download in under a minute once you are familiar with the interface.
The Bottom Line
Trimming a video and adjusting its aspect ratio does not require professional editing software, a steep learning curve, or a paid subscription. Free browser-based tools have made this process fast, intuitive, and accessible to anyone regardless of their technical background. The key is choosing a tool that handles both tasks in a single workflow, preserves your video quality on export, and gives you preset options that match the platforms where your content will actually live.
Whether you are cutting down a long recording for a TikTok clip, reformatting a landscape video into a Reel, or just cleaning up some rough footage for a website, the workflow covered in this guide will get you there in minutes. Start with a clear destination in mind, trim precisely, reframe thoughtfully, and always preview before you download. That is all it takes to turn raw footage into polished, platform-ready content without ever opening a desktop application.
READ ALSO: Affordable Solutions That Simplify Teaching: Best Low-Cost Online Tools for Teachers